Use Clients for the customers linked to your projects and money records.
Create a client
- Select Clients in the sidebar.
- Select Add client.
- Enter the Contact Name, Contact Email and Phone.
- Add any address details you need: Street, Suite, City, Zip Code, Country and State.
- Check the details carefully.
- Select Create Client.
- Check that the client appears in the list.
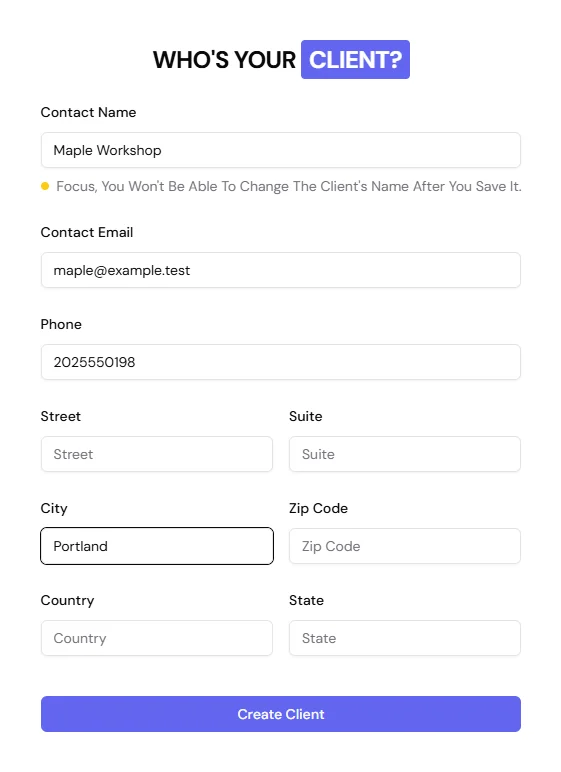
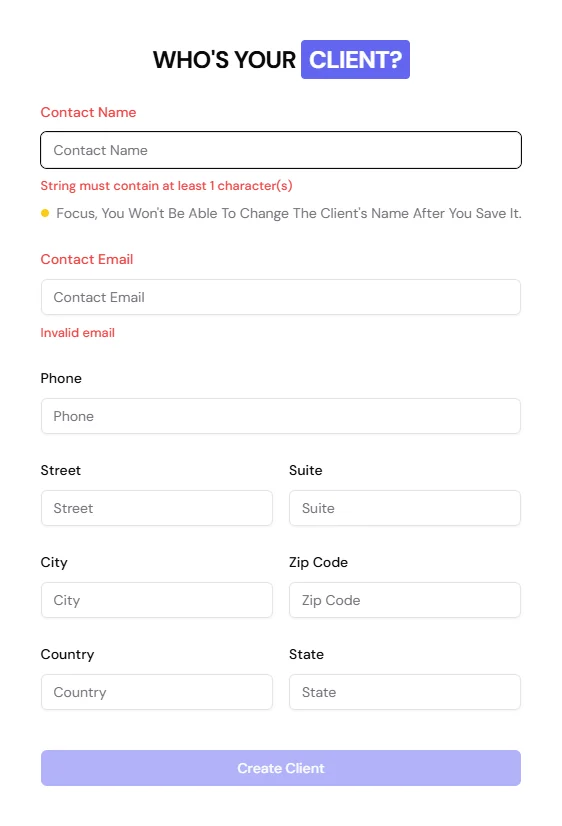
Figure 1. Enter the client's contact and address details.
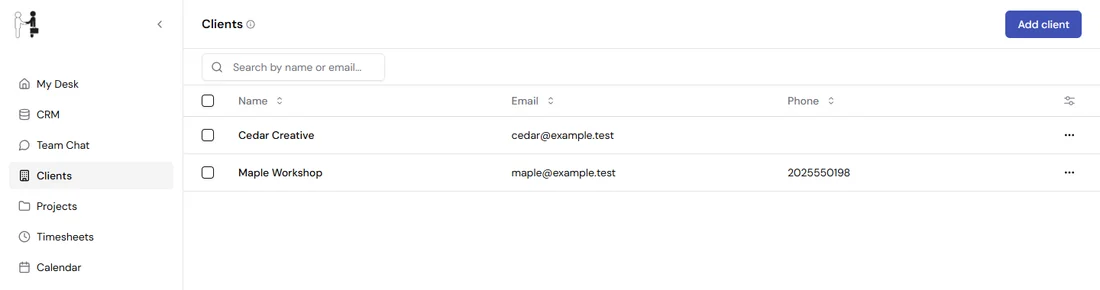
Figure 2. New clients appear in the Clients list.
Open a client
Select a client's row in the list. Check the name at the top of the page, then choose a tab.
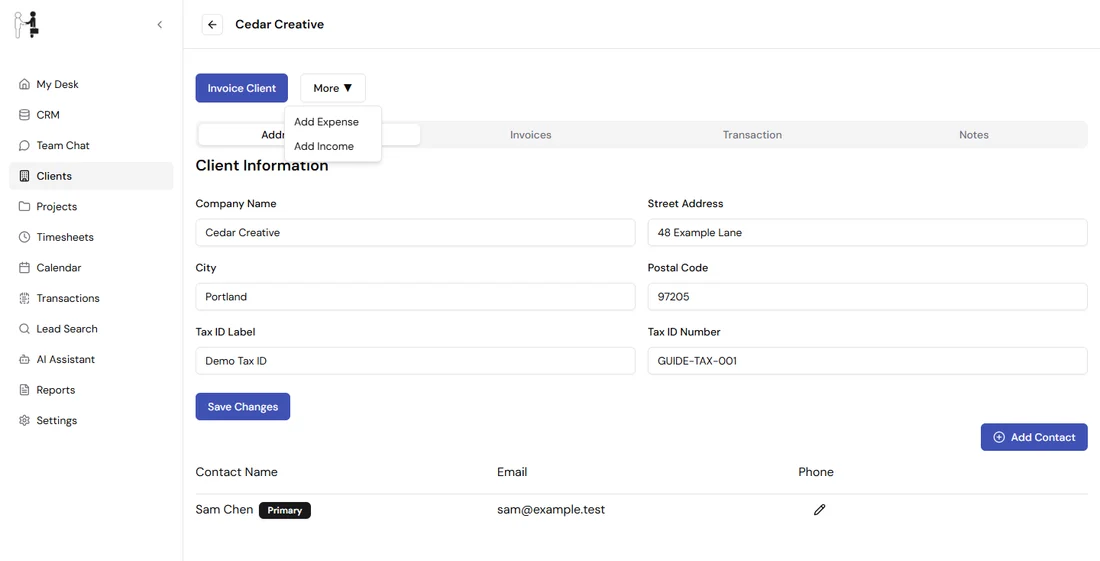
- Address & Contact: review and edit the client's company name, address and tax details, then select Save Changes. Use Add Contact to add another person.
- Invoices: this tab is a placeholder for now.
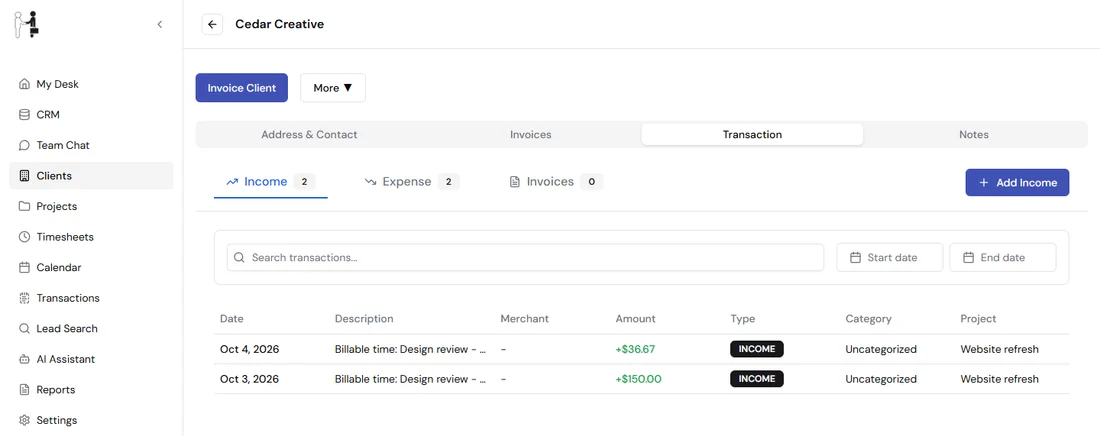
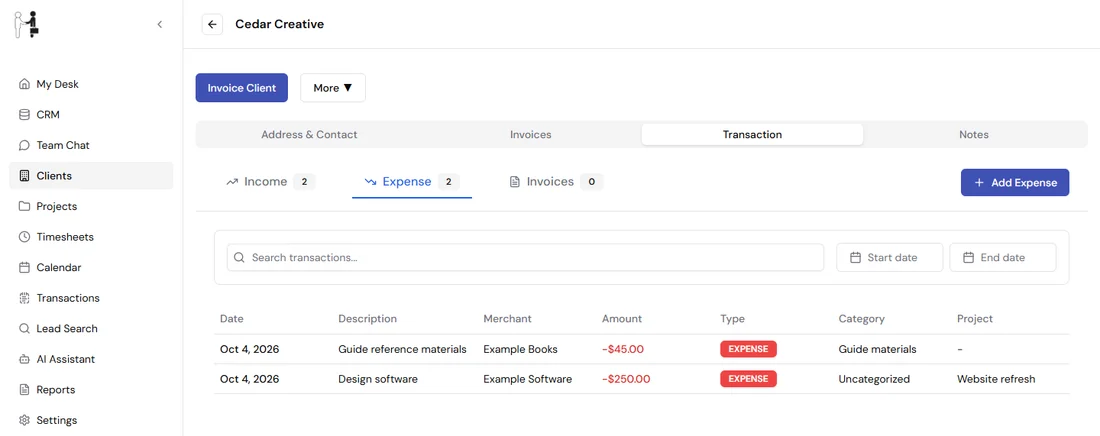
- Transaction: switch between Income, Expense and Invoices. Income and Expense list the client's records. The Invoices view is not ready yet.
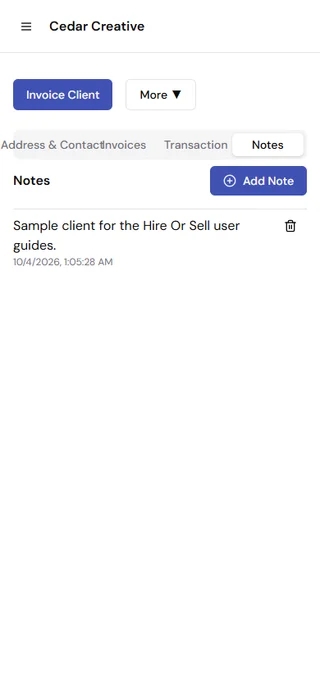
- Notes: read the client's notes and select Add Note.
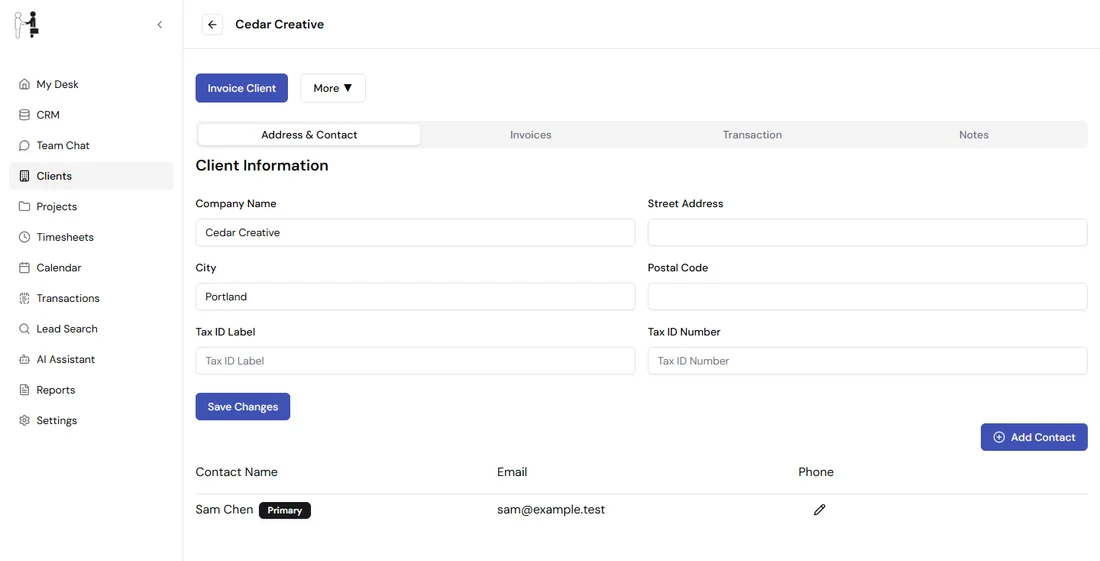
Figure 3. The Address & Contact tab shows the client's details and their primary contact.
Save the address and tax details
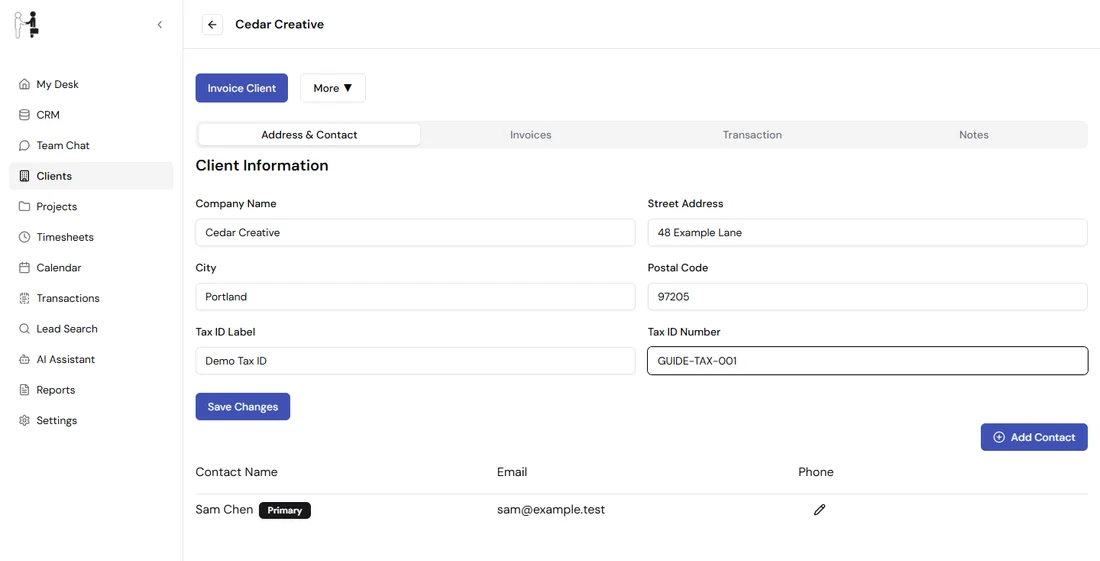
Open Address & Contact. Edit the Company Name, Street Address, City and Postal Code, and add a Tax ID Label and Tax ID Number if you need them. Select Save Changes. HireOrSell shows Client updated.
Add, edit or delete an extra contact
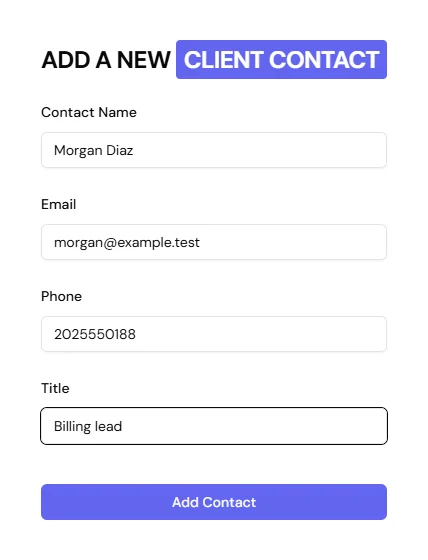
- In Address & Contact, select Add Contact.
- Enter Contact Name, Email, Phone and Title.
- Select Add Contact in the window.
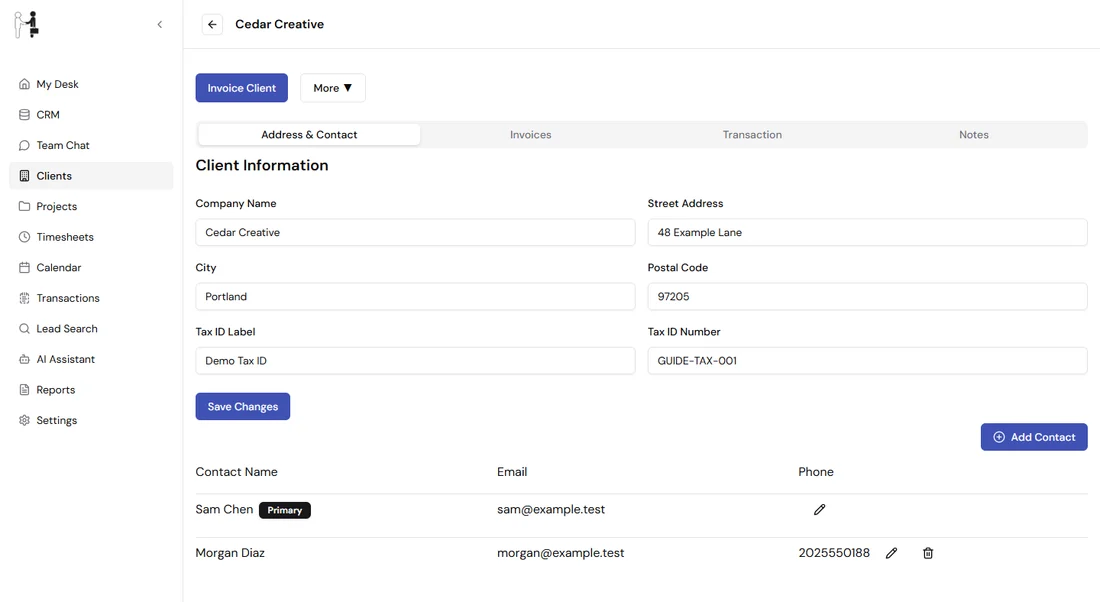
- Check that the new person appears beside the primary contact.
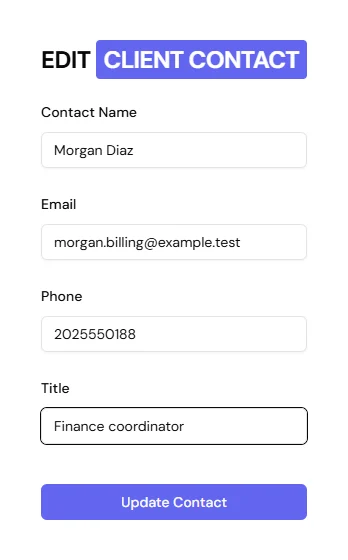
To edit a contact, select the pencil button, change the fields and select Update Contact.
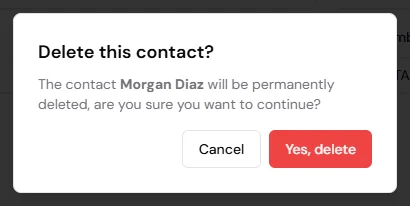
To remove a contact, select the bin button, then Yes, delete. The primary contact stays.
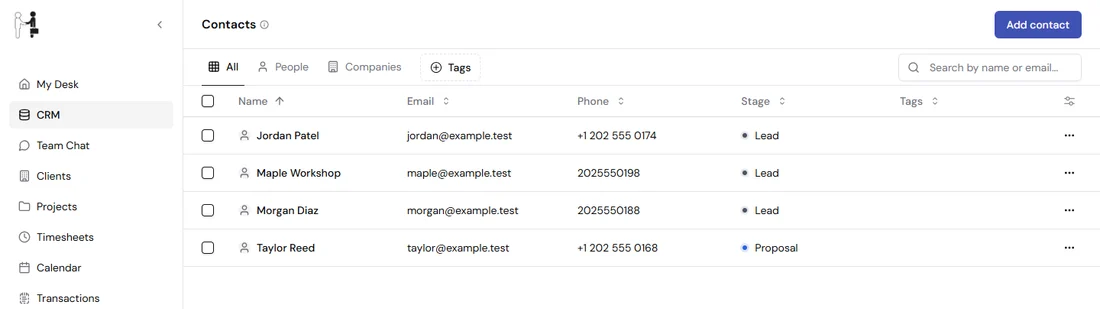
Adding a contact to a client also creates a contact in CRM. Editing or deleting the extra contact on the client does not change that CRM contact. Open CRM to manage it separately.
Add or delete a client note
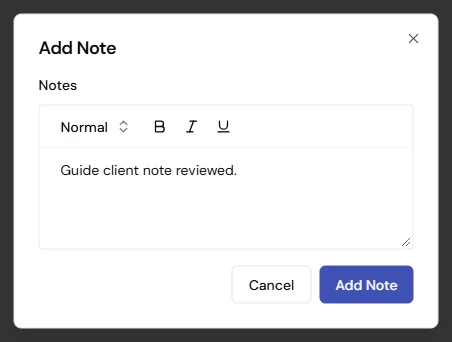
Open Notes, select Add Note, type your note, and select Add Note in the window. Check that it appears in the list.
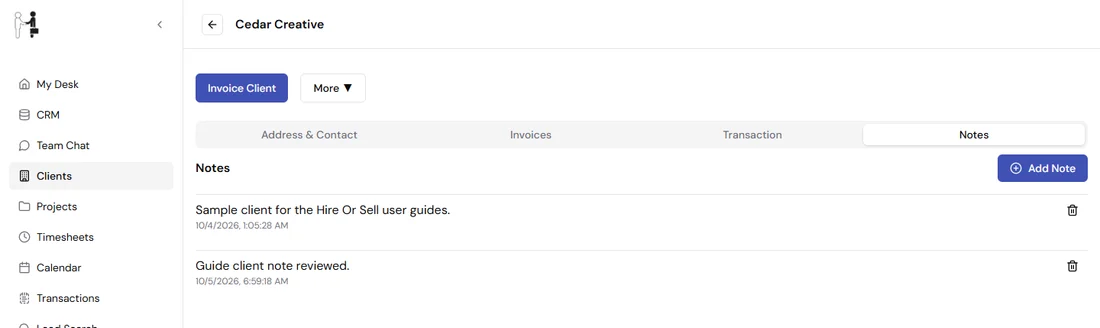
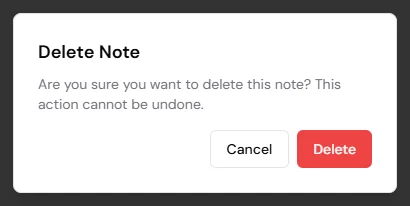
To remove a note, select its bin button, then Delete.
Search, sort and choose columns
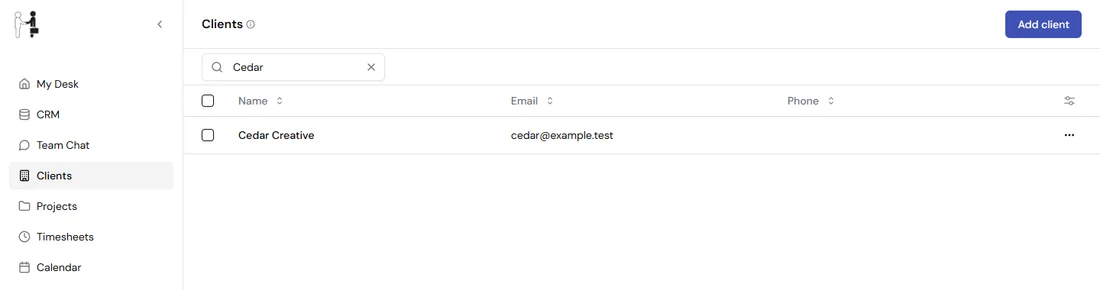
Type a name or email in Search by name or email... to find a client. Clear the box to see everyone again.
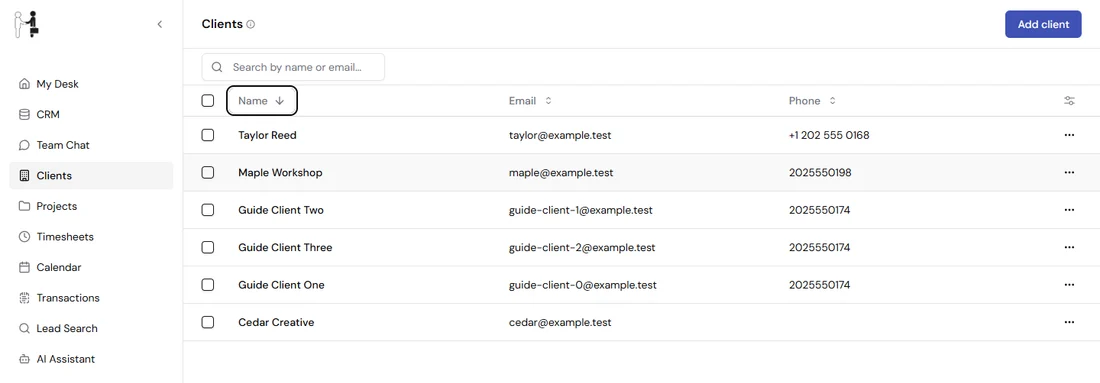
To sort, select Name, then Asc or Desc.
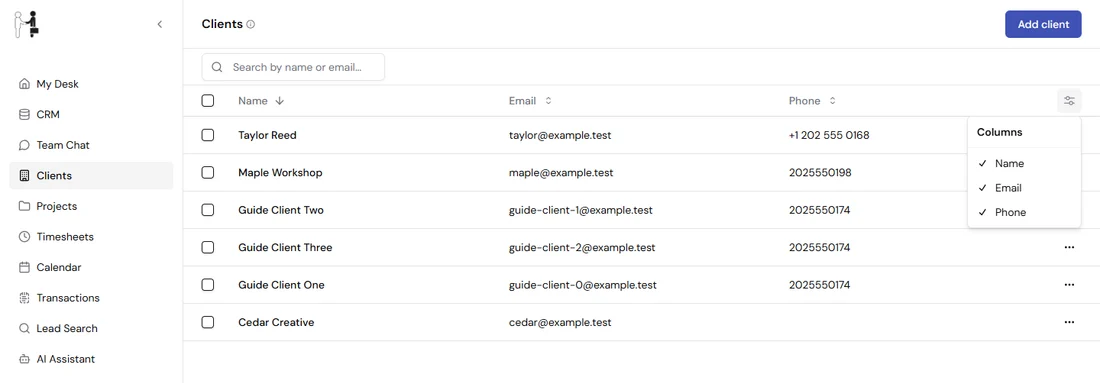
To hide or show a column, select Column options and tick or untick it.
Export or delete clients
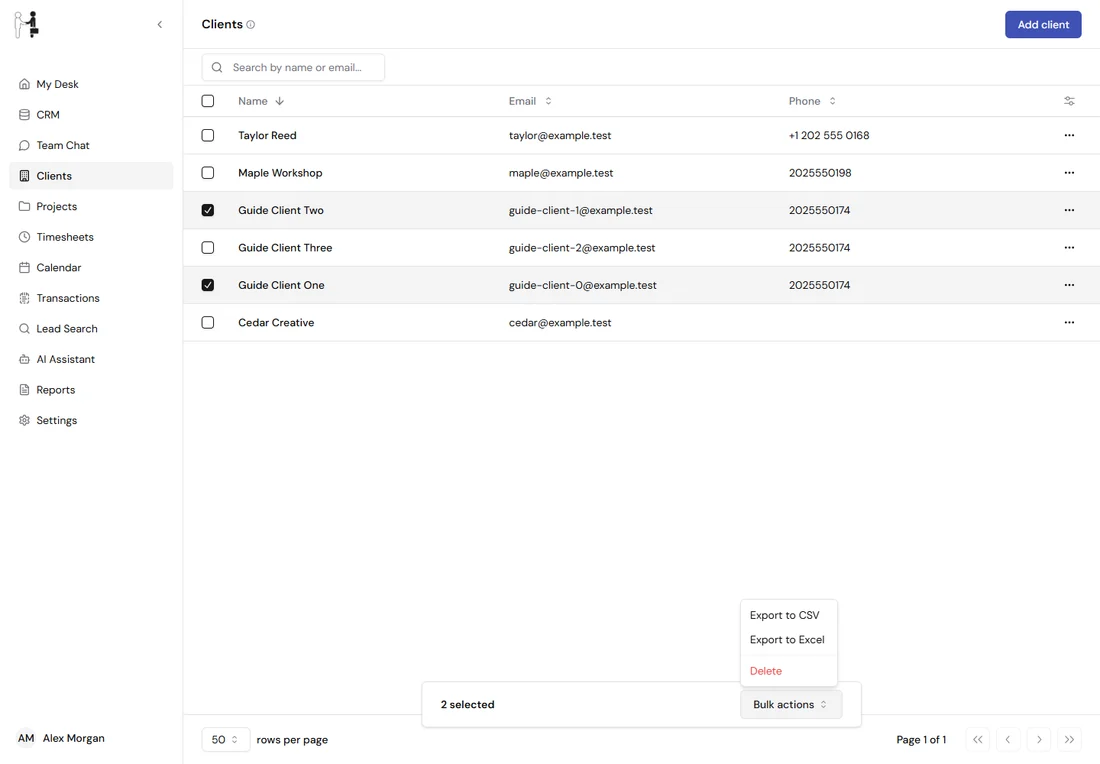
Tick the boxes beside the clients you want. Open Bulk actions, then choose Export to CSV or Export to Excel. Only the ticked clients are exported.
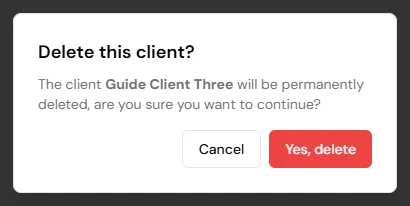
To delete one client, open Open menu in its row, select Delete, check the name, and select Yes, delete. Select Cancel to keep it.
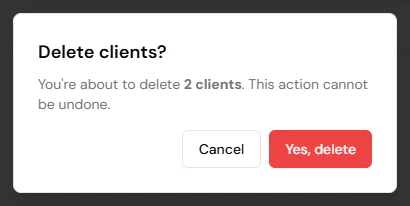
To delete several, tick them and choose Bulk actions, then Delete. Check the number shown before you confirm.
Fix creation errors
If you submit the form with required fields empty, it stays open and marks them. Enter a Contact Name and a valid Contact Email, then try again.
Review a client's transactions
Open Transaction and choose Income or Expense. Each view shows only that type of record.
Create an invoice, income or expense for a client
At the top of the client page, select Invoice Client to start an invoice for this client. Select More, then Add Income or Add Expense, to record money in or out.
On the Transaction tab, the Add Income, Add Expense and Create Invoice buttons work the same way for the view you are in. You can also create invoices, income and expenses from Transactions in the sidebar.
On a phone
Select a client in the list, then choose a tab. Use Add Note to open the note form, and Back to return to the list.