
Open a contact from CRM to review its details and record follow-up work in one place.
Open a contact
- Select CRM in the sidebar.
- Find the contact by name or email.
- Select its row.
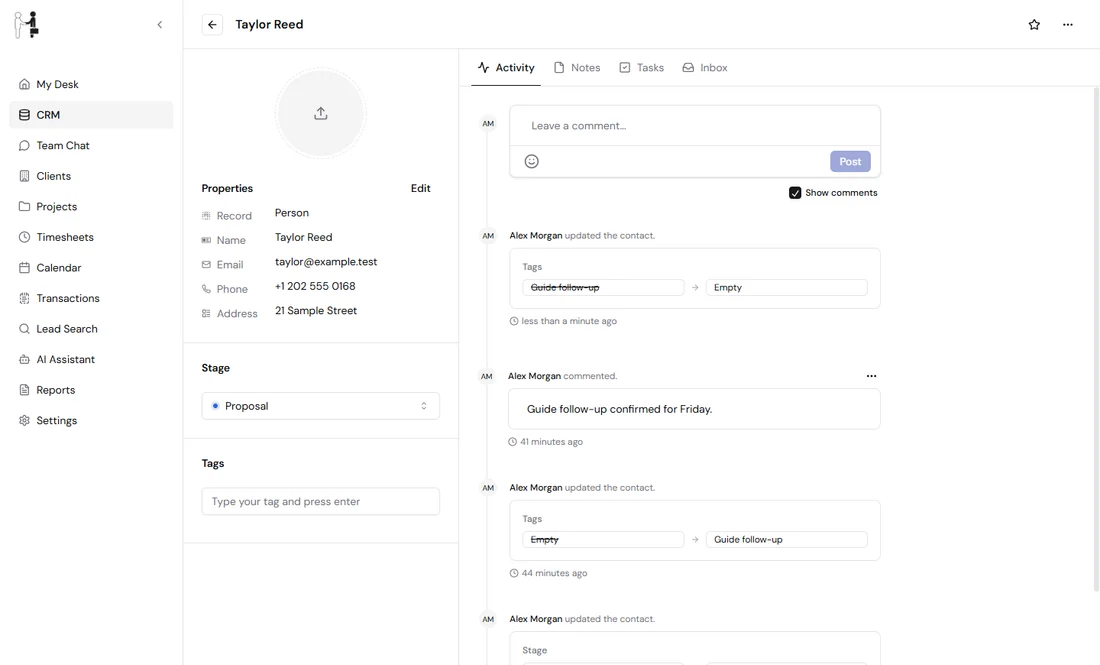
- Check the contact's name at the top of the page.
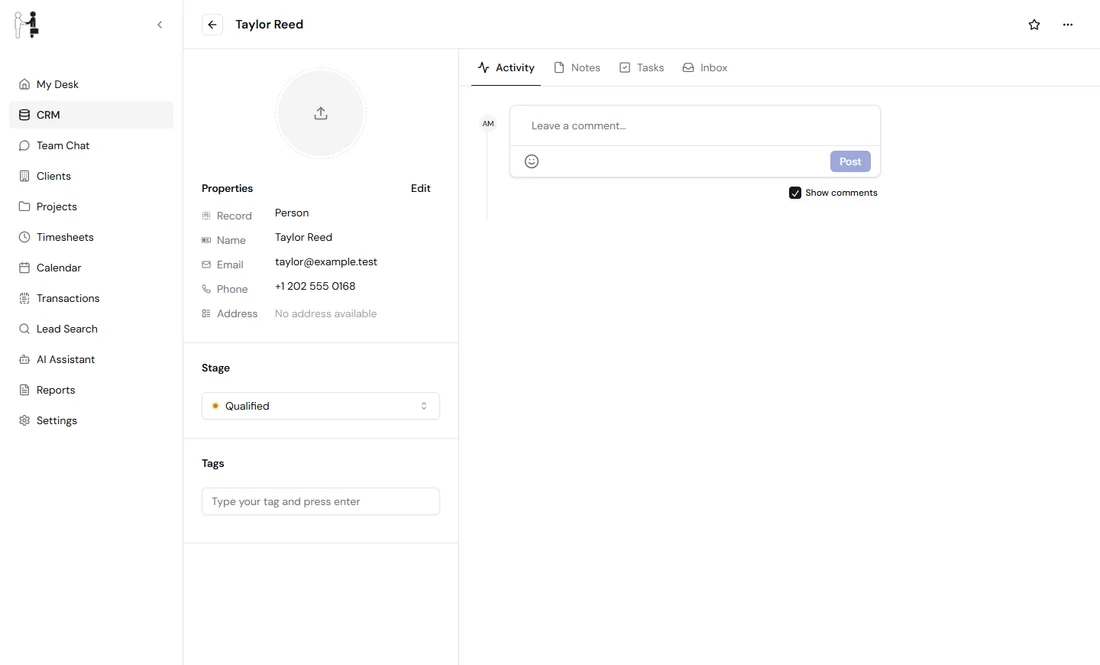
Figure 1. Properties, Stage and Tags sit beside the Activity, Notes, Tasks and Inbox tabs.
Edit a contact's properties
- Select Edit beside Properties.
- Change the name, email, phone, address or record type.
- Select Save and wait for Properties updated.
Select Cancel to discard your changes.
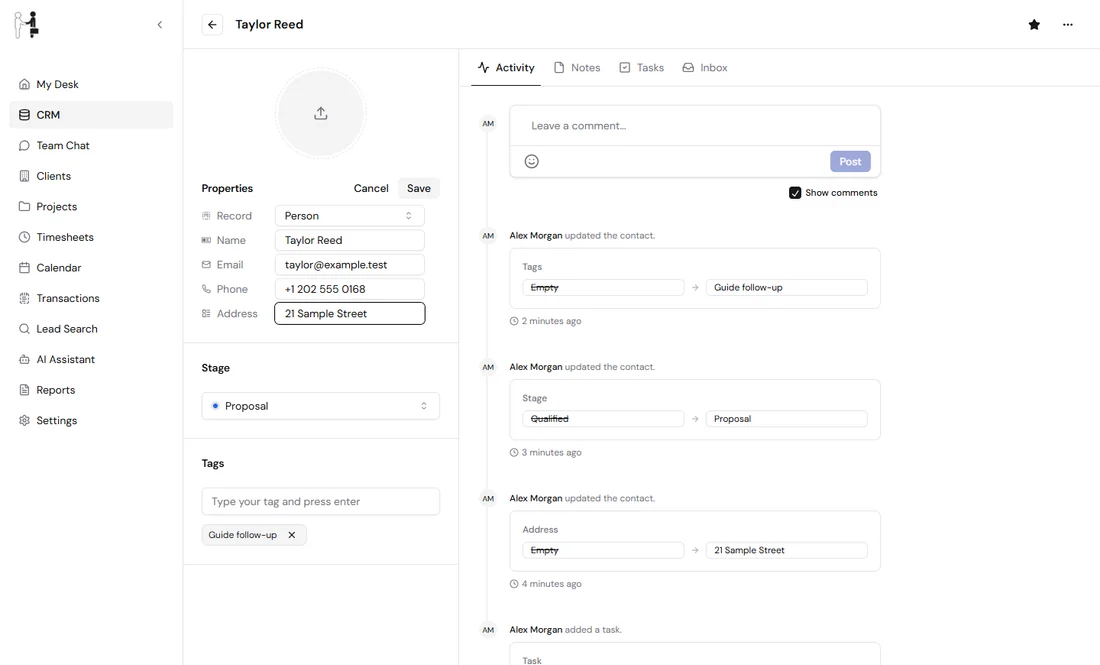
Change the stage, add tags and mark a favorite
Choose a stage from the selector below Stage. It saves straight away and shows Stage updated.
To add a tag, type it in Type your tag and press enter, then press Enter. Wait for Tags updated. Select the star beside the contact's name to mark a favorite.
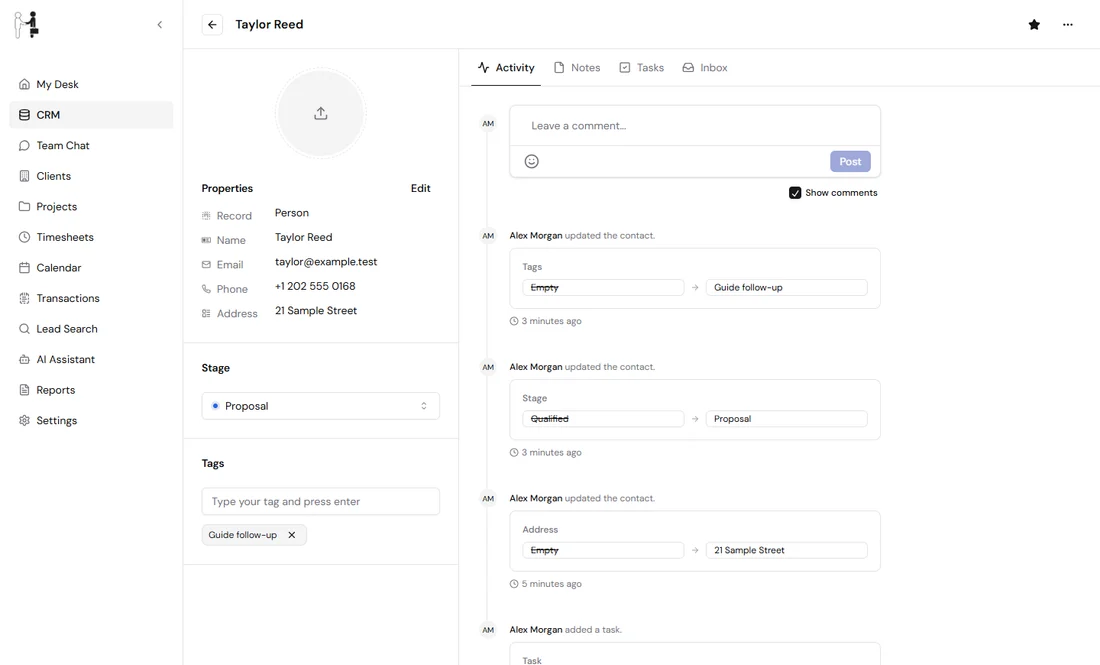
To remove a tag, select the small X on it. Select the star again to remove the favorite.
Add a note
- Select Notes, then Add note.
- Write your note. Use the formatting buttons if you need them.
- Select Save.
- Check that the note appears and that the All notes count goes up.
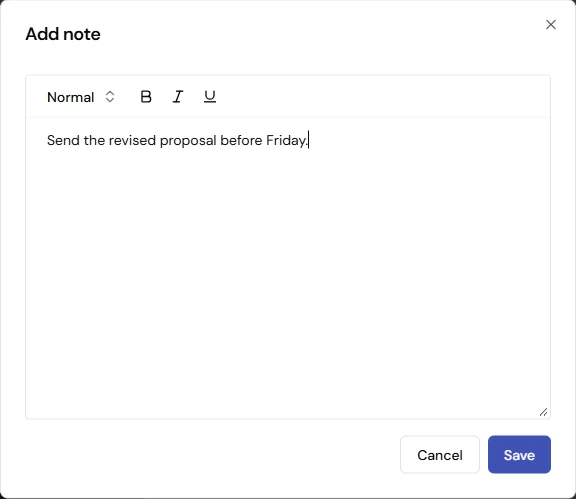
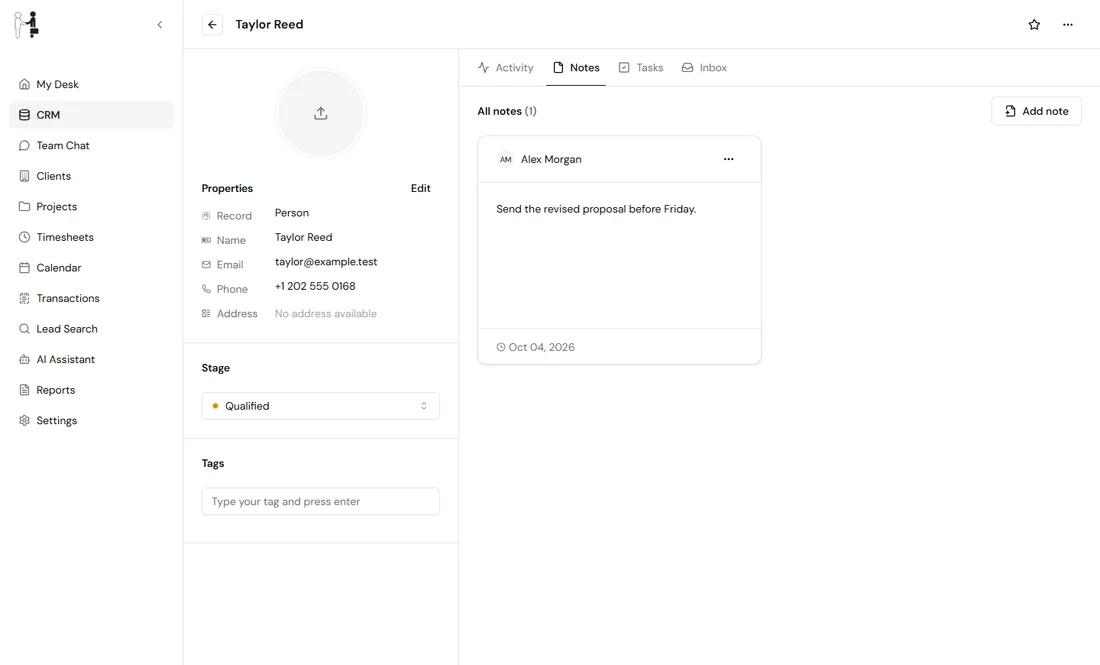
Figure 2. The saved note appears in the Notes tab.
Edit or delete a note
Select the note's text to open it. Change the text and select Save.
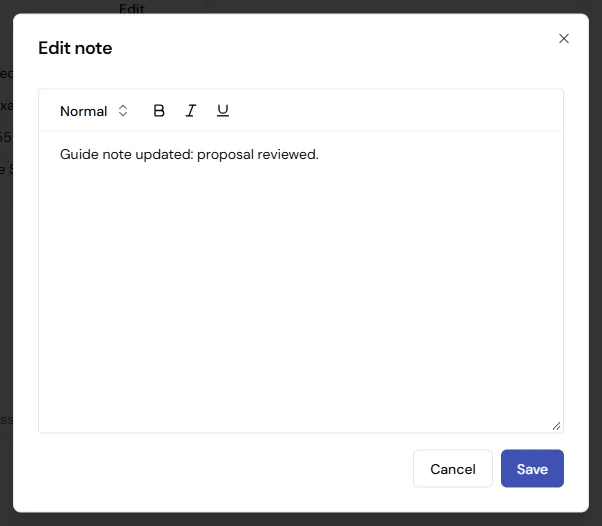
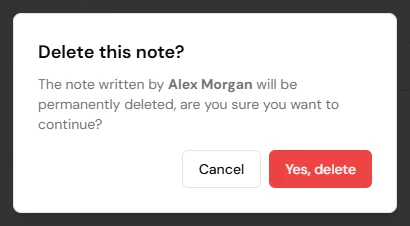
To delete a note, select its Open menu, then Delete. Read the confirmation and select Yes, delete.
Add a follow-up task
- Select Tasks, then Add task.
- Enter a Title and a Description.
- Choose a Status. Pick a Due date if the task has a deadline.
- Select Save.
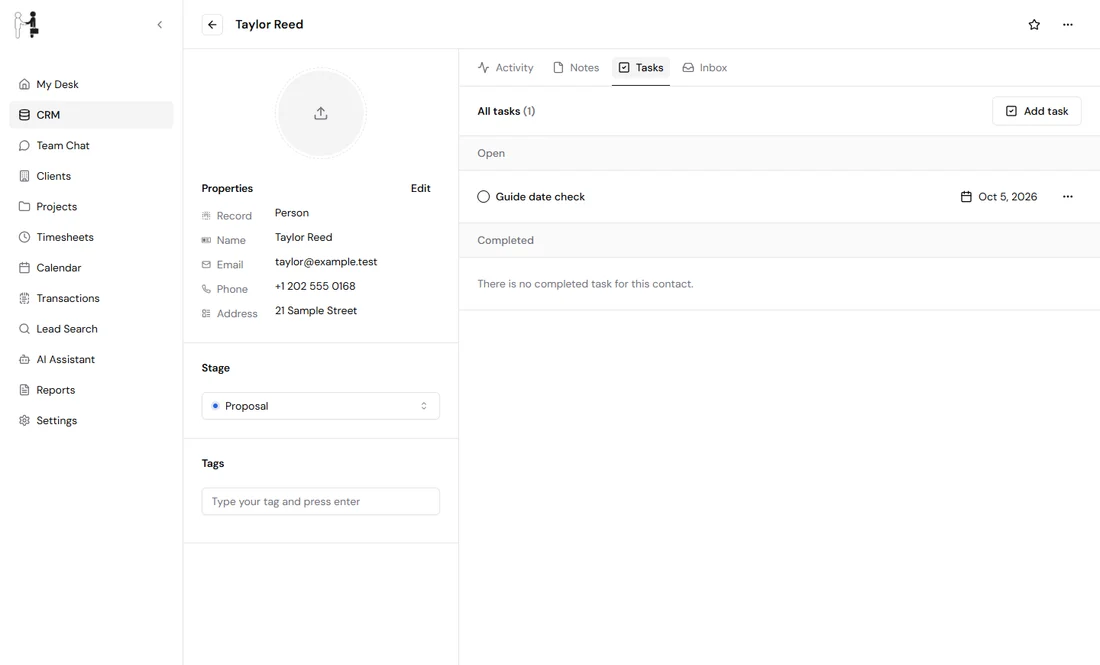
- Find the task under Open or Completed, depending on its status.
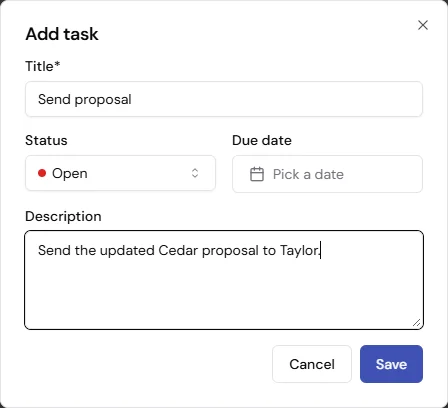
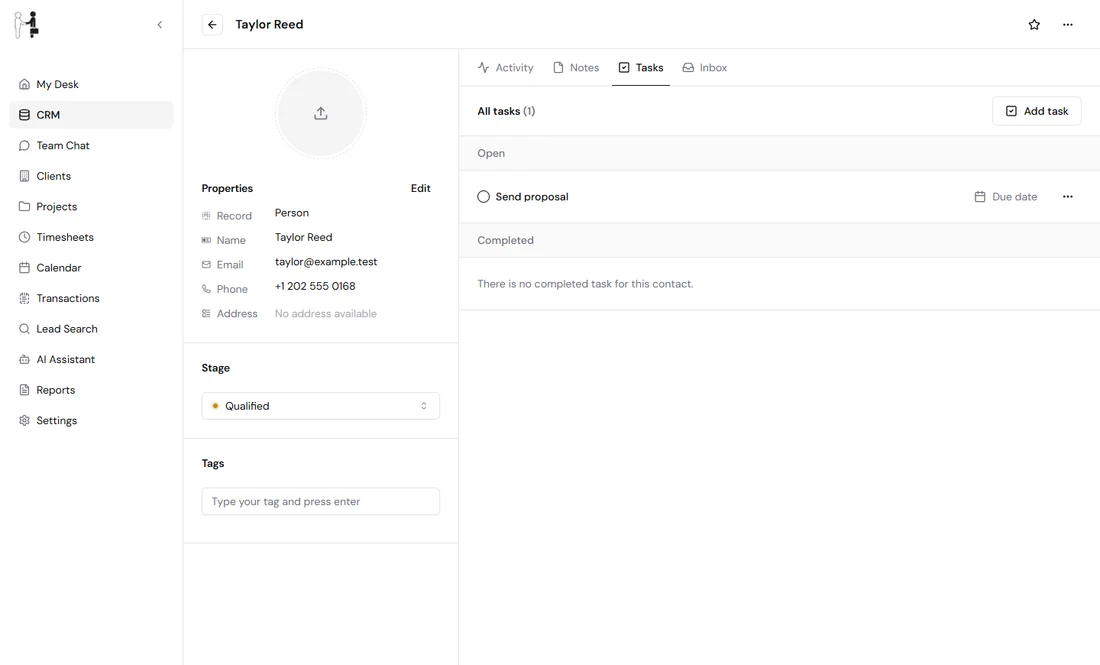
Figure 3. A new task appears under Open.
Complete, edit or delete a task
Select the checkbox beside a task to complete it. It moves to Completed.
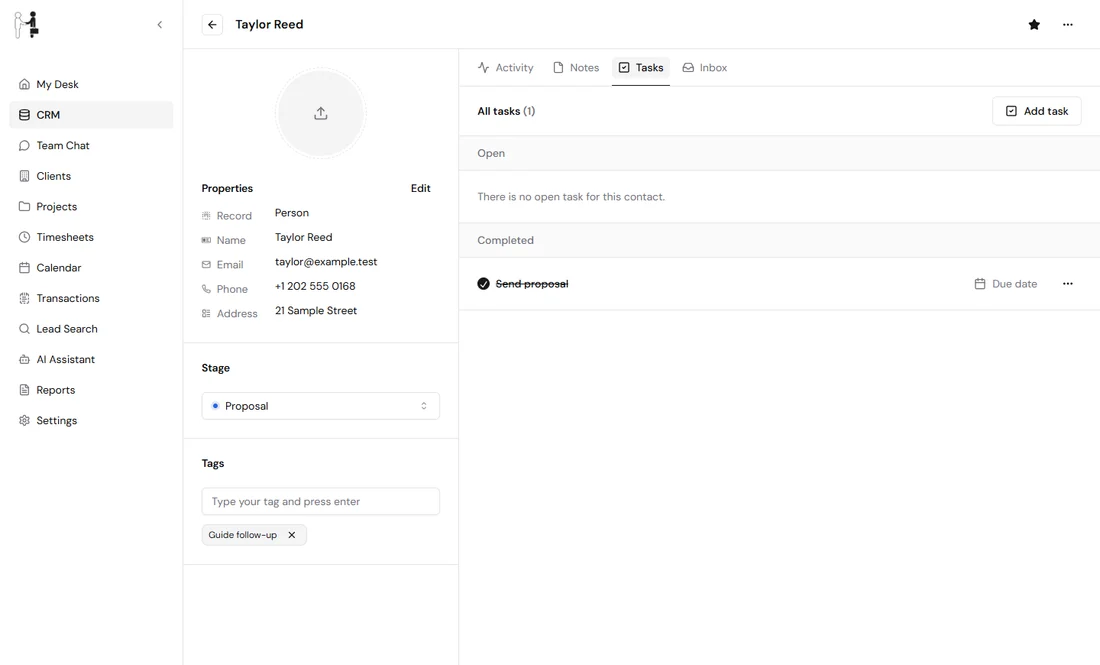
To edit a task, select its Open menu, then Edit. Change the title, description, status or due date, then select Save.
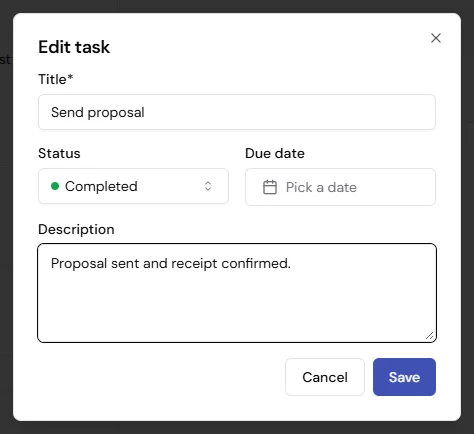
To change a due date, select the date beside the task and choose a day, or a shortcut such as Today or Tomorrow.
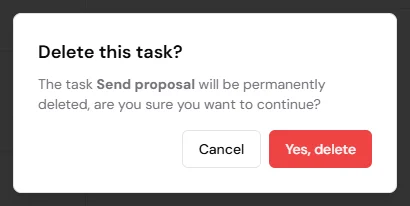
To delete a task, select its Open menu, then Delete, then Yes, delete.
Post an activity comment
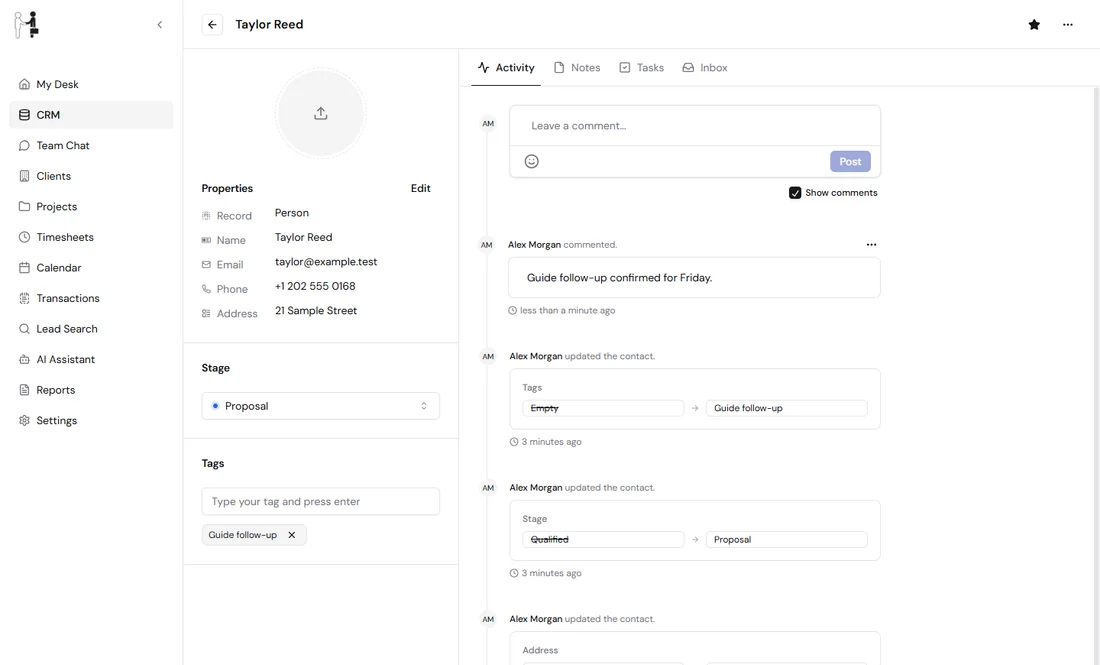
- Select Activity.
- Type your update in Leave a comment....
- Select Post.
Keep Show comments ticked to see comments next to changes made to the contact.
Save a contact as a client
A contact needs a name, an email and an address before it can be saved as a client. Add any that are missing in Properties, then select Save Client below the contact's details.
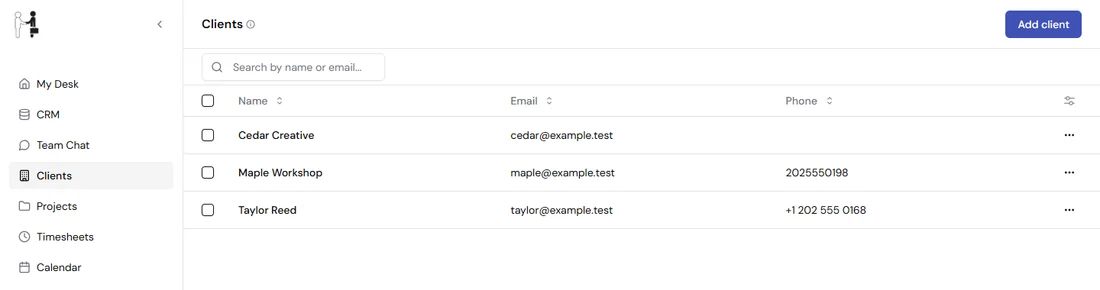
HireOrSell shows Client has been saved, and the button changes to Already Saved. Open Clients to find the new client.
Save an email draft
- Select Inbox, then Compose.
- Enter a Subject and a Message.
- Select Save Draft.
- Open Drafts to find it.
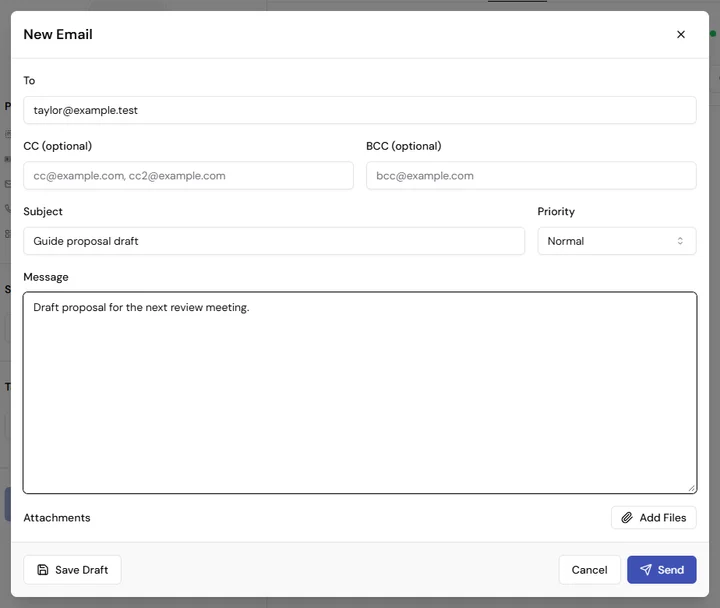
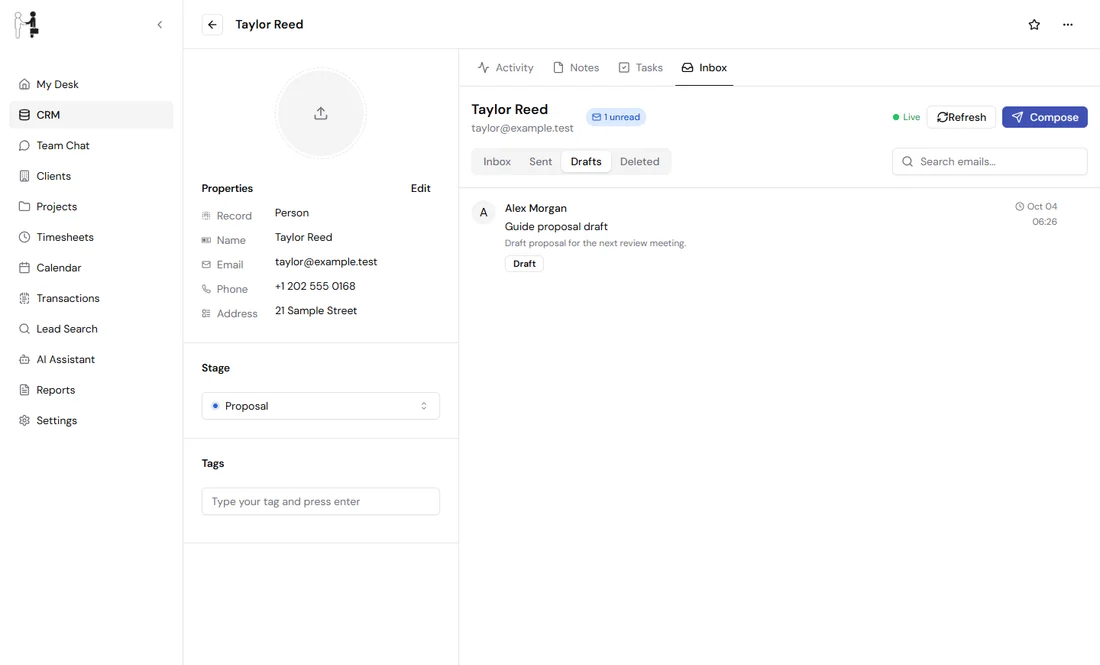
This guide covers saving a draft. It does not cover sending email.
On a phone
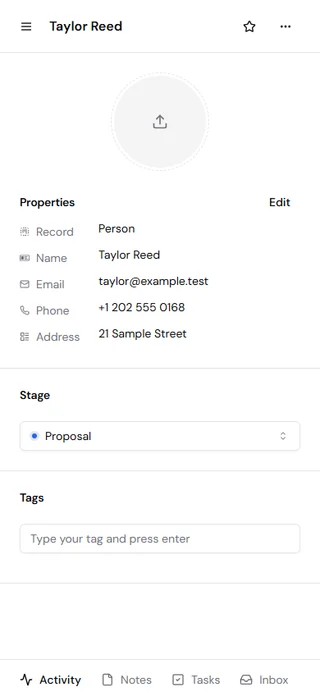
Select a contact in the CRM list. On a narrow screen the properties appear first. Scroll down to reach the Activity, Notes, Tasks and Inbox tabs, then choose the one you need.
The back arrow at the top left takes you to Clients. To return to the contact list, open the menu and select CRM.
Quick reference
- Edit (next to Properties): change the contact's details.
- Stage: set where the contact is in your sales process.
- Type your tag and press enter: add a tag.
- Star (beside the name): mark a favorite.
- Activity: see changes and post comments.
- Inbox: see Inbox, Sent, Drafts and Deleted emails.
- Save Client: create a matching client record.
- Open menu (beside the name): copy the contact's ID or page address, add or remove a favorite, or delete the contact. Deleting removes the whole contact, so check before you confirm.
To create a contact first, see Add and find a contact.