Create a person or company in CRM, then find the saved contact by name or email.
Before you start
Sign in and finish onboarding. Your organization's plan may limit how many contacts you can create.
Add a contact
- Select CRM in the sidebar. The page heading is Contacts.
- Select Add contact.
- Choose Person or Company. The form starts with Person selected.
- Enter the required Name. Add Email and Phone if you have them.
- Select Save.
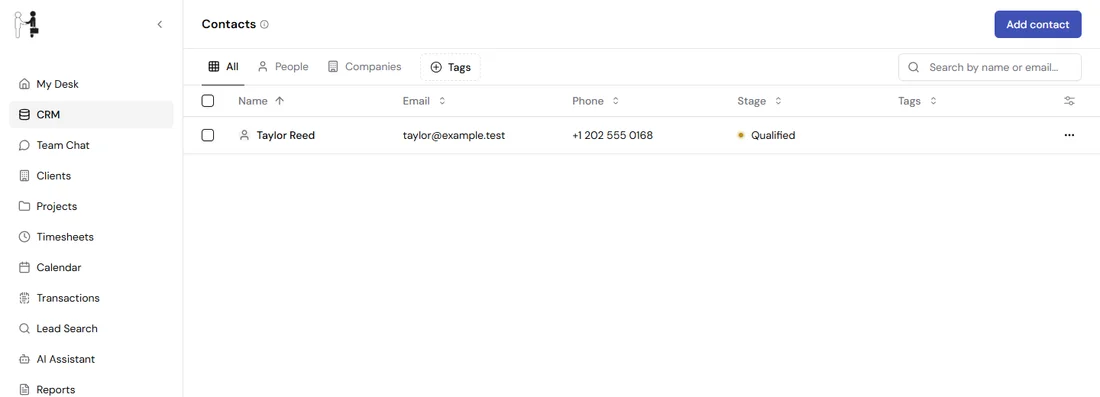
Figure 1. Open CRM and select Add contact.
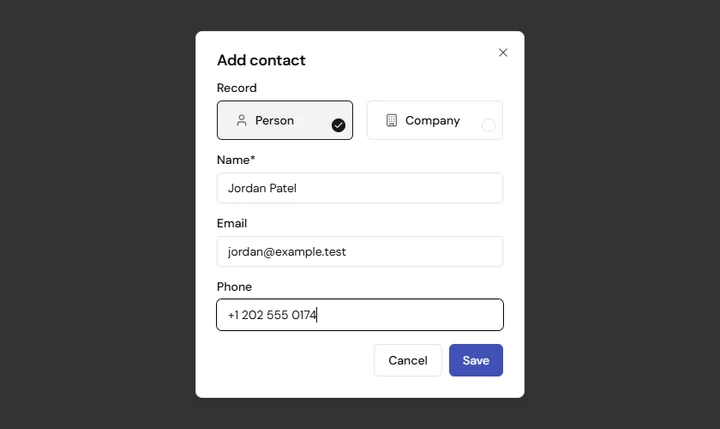
Figure 2. Choose the record type and enter the contact's details.
Check the result
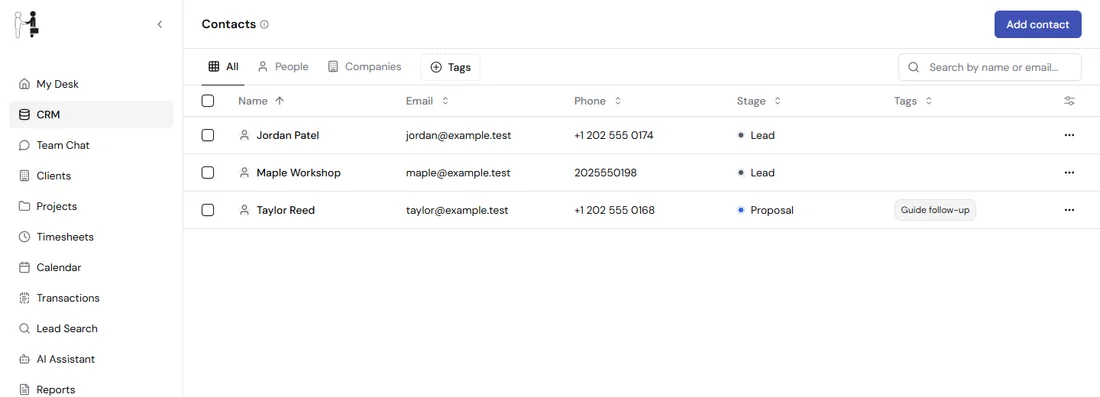
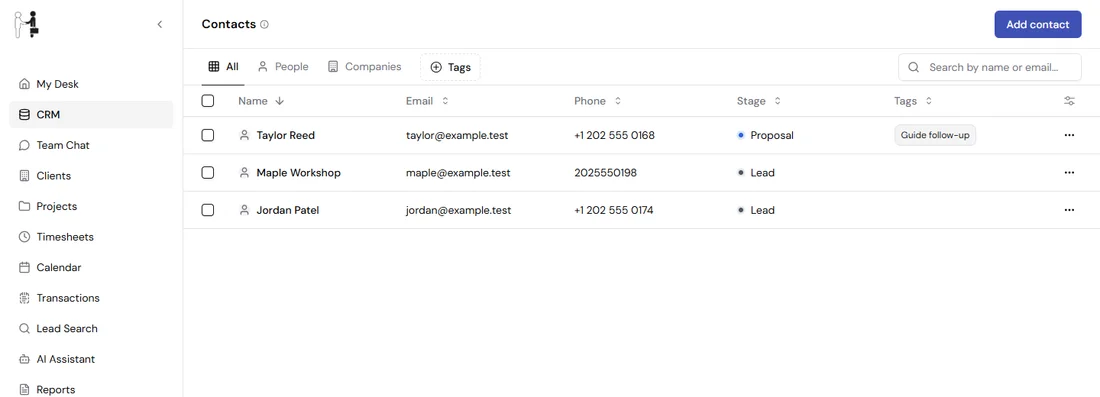
The dialog closes and the new contact appears in the table. In the example, the new contact Jordan Patel appears with the Lead stage. Hire Or Sell also shows a Contact added notification after saving.
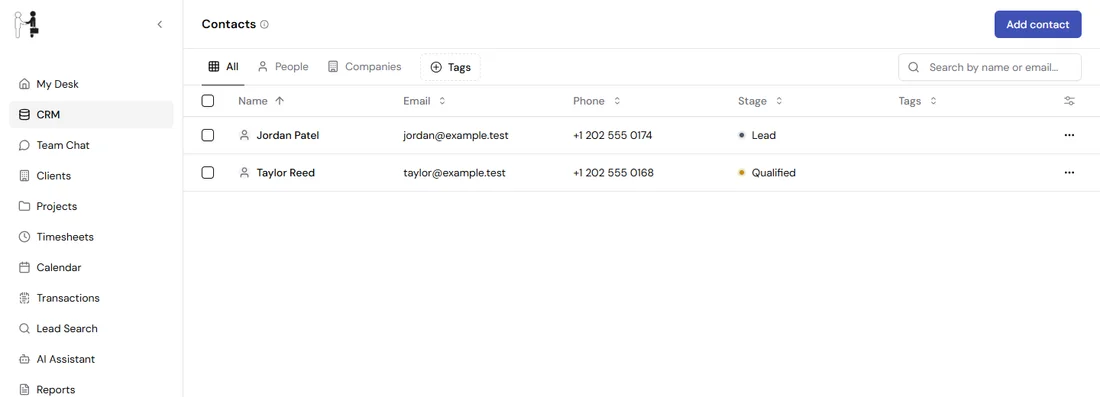
Figure 3. Check that the name, email, and phone match what you entered.
Find a contact
- Select All, People, or Companies to choose the record type to display.
- Enter a name or email in Search by name or email....
- Check the matching rows. Clear the search field to return to the full list.
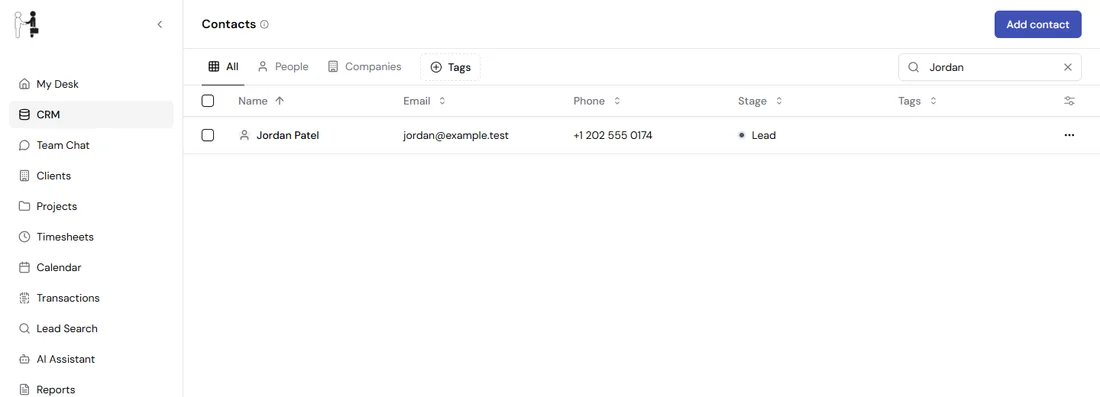
Figure 4. Use the search field to narrow the contact list.
Use the column-heading buttons to access sorting controls. Tags provides another filter. The row checkboxes select contacts, and Open menu contains actions for an individual record.
Cancel a new contact
Select Cancel or the dialog's Close button to return to the contact list without saving the new record.
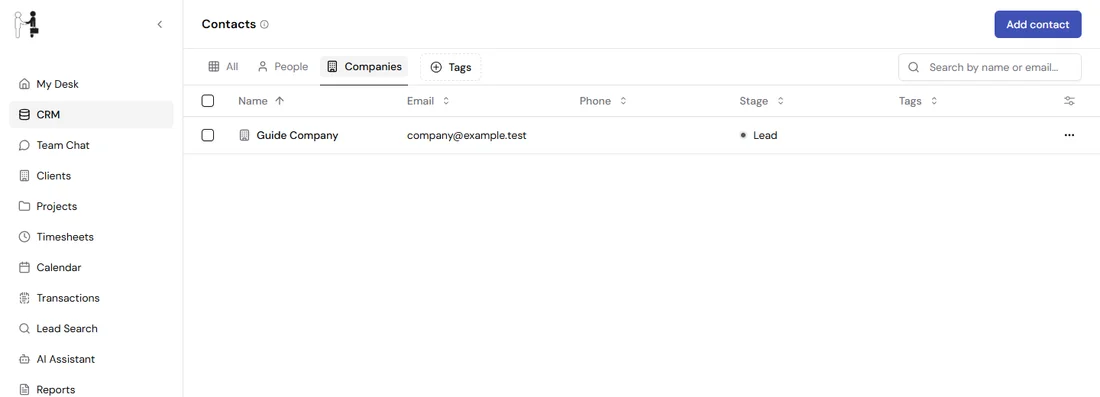
Add a company
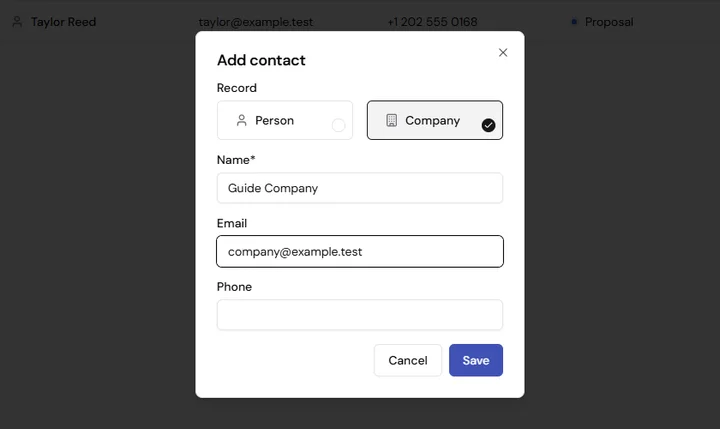
Choose Company in Add contact, enter the company name and any contact details, then select Save. Select Companies to check the saved record.
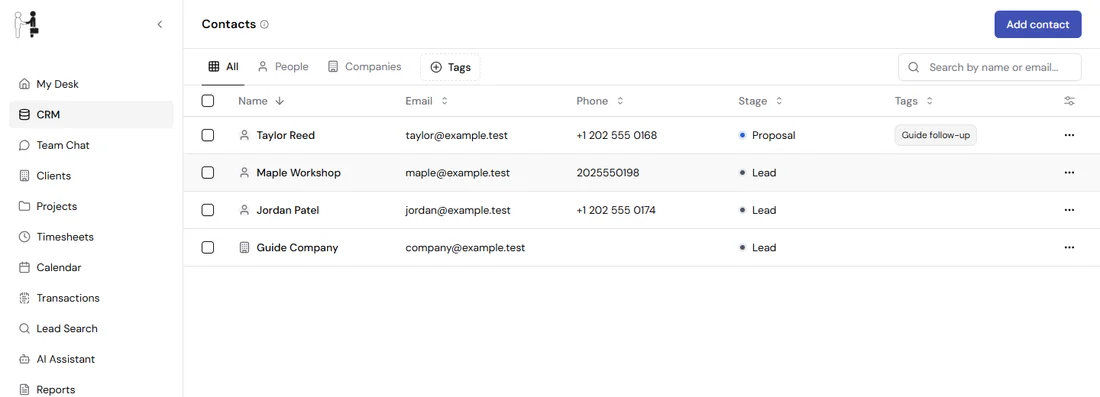
Sort the list
Select a column heading, then Asc or Desc.
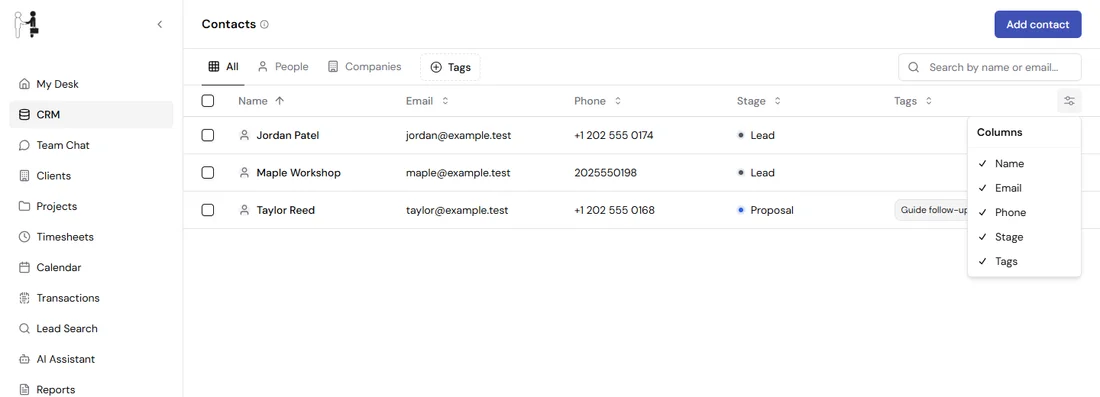
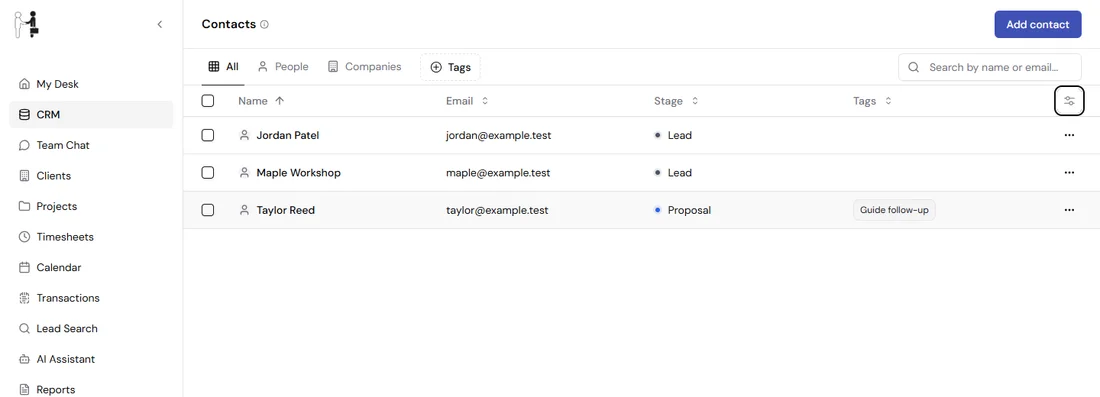
Choose visible columns
Select Column options, then select a checked column to hide it or an unchecked column to show it.
Filter by tag
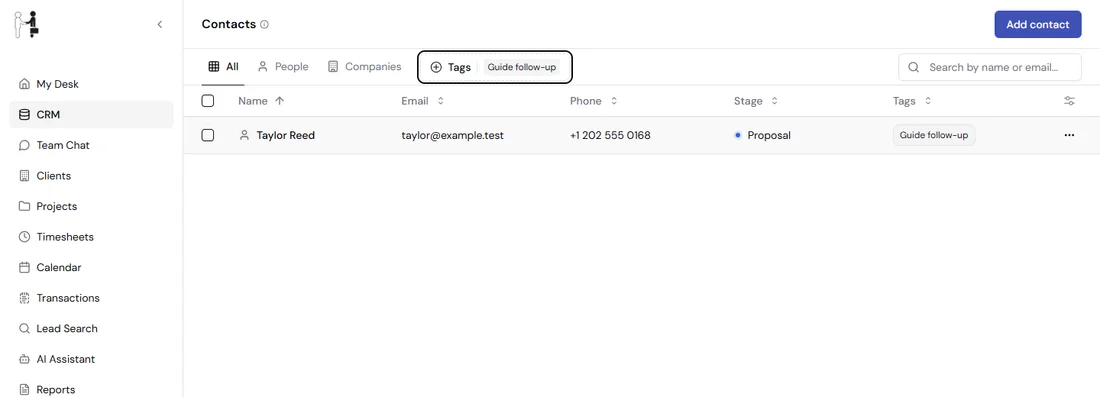
Select Tags above the table, then select a tag. Open the filter again and select Clear filters to return to the complete list.
Export selected contacts
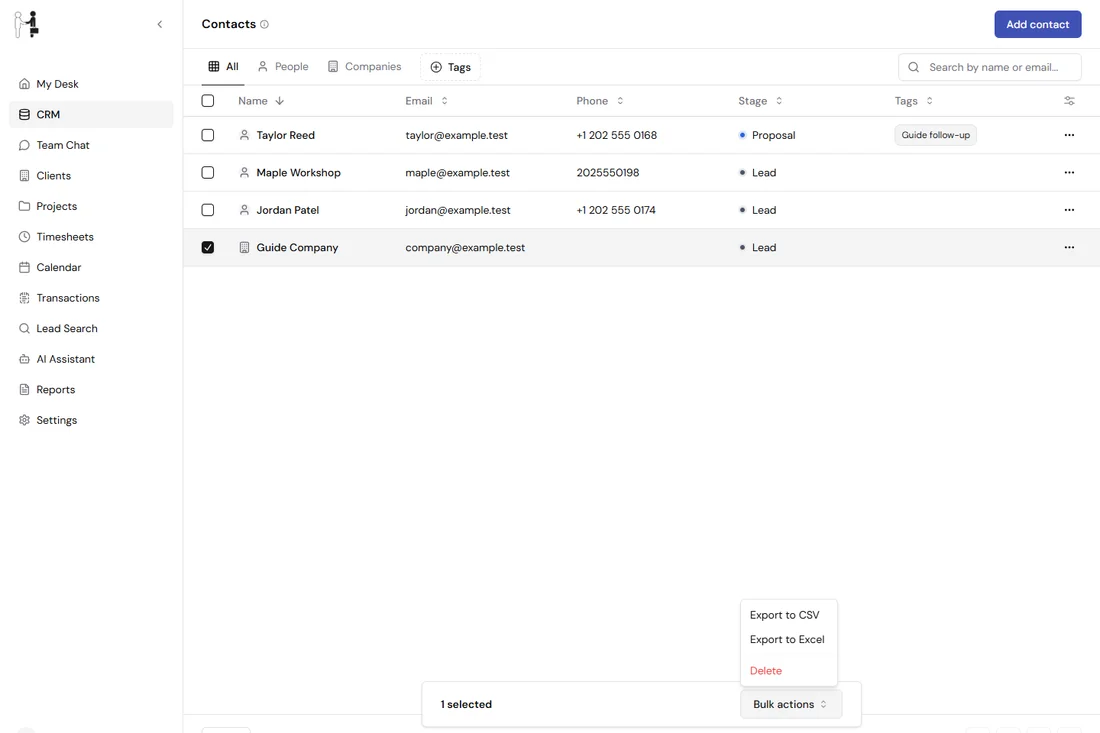
- Select the checkbox for each contact to export.
- Select Bulk actions, then Export to CSV or Export to Excel.
- Open the downloaded file and check its records.
Delete a contact
- Select Open menu in the contact's row, then Delete.
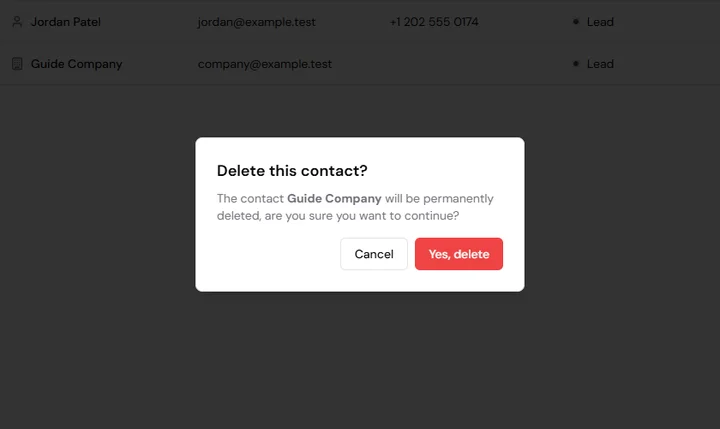
- Check the contact name in the confirmation.
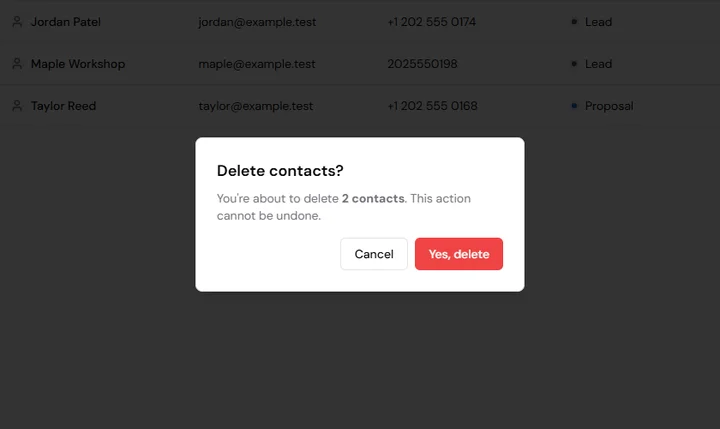
- Select Yes, delete to remove it, or Cancel to keep it.
- Check that its row has disappeared.
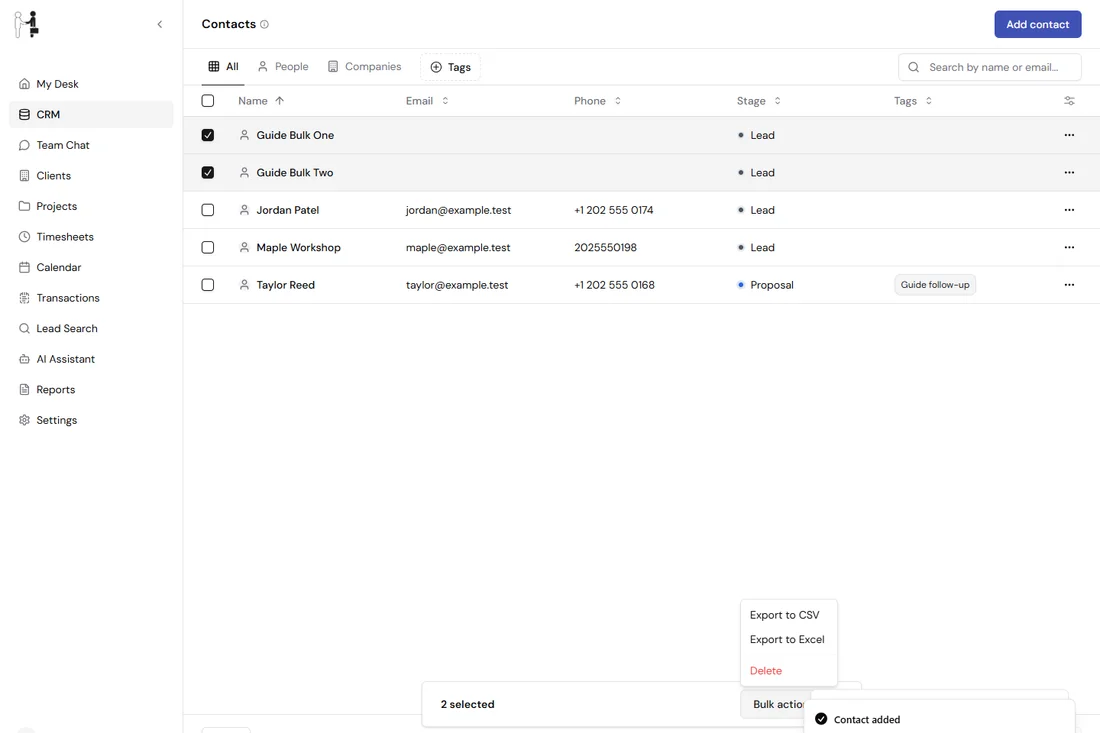
To delete several contacts together, select their checkboxes, open Bulk actions, and select Delete. Review the confirmation before selecting Yes, delete.